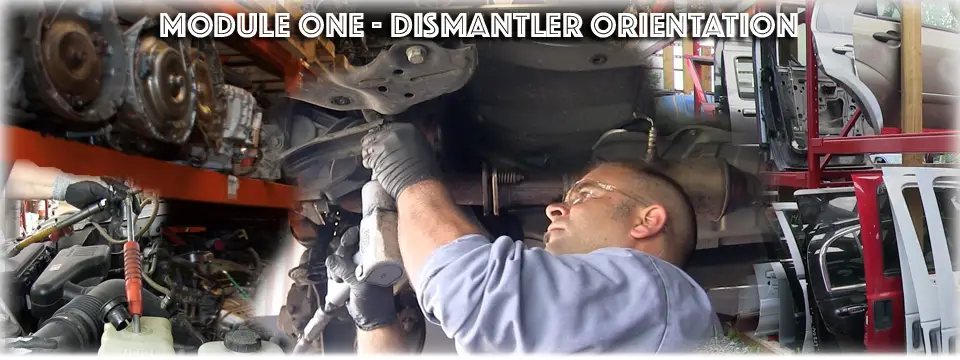
Preamble
Approximate time to complete this lesson: 15 minutes.
Lesson 2.6 Video
Begin Lesson 2.6 by watching this video (2 minutes, 51 seconds)
Review of Lesson 2.6
Procedures:
- Remove inner door handle cover and undo screw-clips.
- Remove power switches or manual window handles as required.
- Remove door panel.
- Brace glass into place so when the regulator is undone it will not fall.
- Undo bolts holding the regulator in place or drill out the rivets.
- Unbolt run channel at front and rear of door.
- Remove glass thru top.
- Regulator will have to be adjusted up or down thru this procedure.
- Disconnect door lock assembly.
- Unbolt glass, or drill rivets.
- Unbolt the mirrors.
- Disconnect wires.
- Mark the stock number on the inner face using R for right or L for left.
- Mark stock number and right hand or left hand on parts.
- Mark FRT for front or RR for rear as these parts will need to be identified at a later date.
Quality Control:
- Look for hidden screws covered by small caps.
- See door removal procedures before removing component parts.
- A power source will be needed in order to move power window regulators – see management for details.
- When marking stock numbers on glass or plastic parts print it on a non-visible area (where it cannot normally be seen). Example: Inner side of door panel or glass below the door frame.
- Special tools: hook tool, clip remover pliers.
Health & Safety:
- PPE: Safety glasses and steel-toed boots.
