Preamble
Approximate time to complete this lesson: 30 minutes.
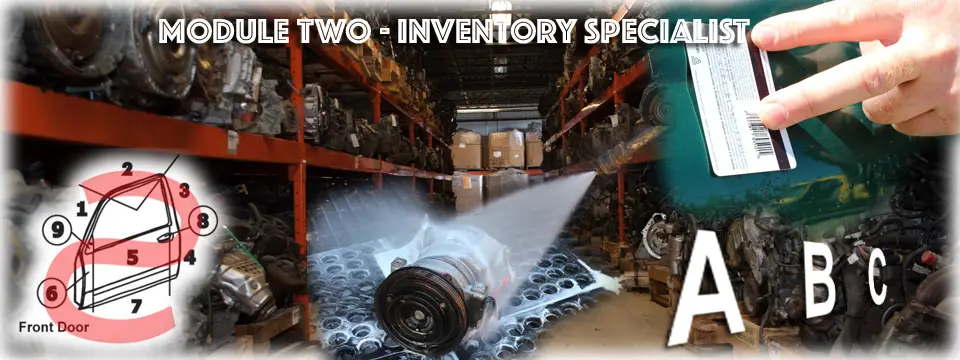
Lesson 3 Video
To begin Lesson 3, watch this video (5 minutes, 14 seconds).

Review of Lesson 3
Part 2
ARA Parts Description Guidelines
The ARA Parts description guidelines were designed to improve the communication between automotive recyclers and:
- Other automotive recyclers;
- Retail customers;
- Collision repair;
- Mechanical repair; and,
- Insurance companies.
The ARA Parts Description guidelines are designed to bring standardized parts descriptions and terminology to the parts inventory process. The system identifies common parts and terms that describe part’s condition and options. By standardizing part descriptions the recycling industry can easily:
- Set customer expectations, and
- Increase sales and utilization of recycled parts in the repair process
Understanding Parts Descriptions
How can we incorporate standards & descriptions into business management systems and parts locating networks? Parts Description guidelines provide industry approved descriptions and are available at www.a-r-a.org. The guidelines list acronyms used to describe common parts.
Examples include:
- Headlamp = HLP
- Compressor = COM
- Anti-Lock Braking System = ABS
There are over 125 parts listed in total. For a complete list see the ARA Recycled Parts Standards and Codes. Part colour codes and definitions are also listed in the guidelines. The training in this module will focus on part conditions using the ARA damage locator and parts grading guidelines.
Part 3
Damage Conditions & Parts Grading
A three digit character code informs us:
- The location of the Damage;
- The type of Damage; and,
- The number of Units of Damage.
Damage Location
The first character in the code is the location of the damage. Utilizing the standard damage locator guide we can determine the first character in the code. Damage typically follows a Reverse S pattern.
- Front to Back
- Top to Bottom
- Left to Right
Example 1:


Example 2:


Example 3:


Example 4:


If there is no damage to the part the code entered will be “000”.
Note: Zero is also used as a location, for example, 0H4 would mean hail damage all over.
Always keep a copy of the damage locator close by so you will never have to question the location of damage.
Location number for common parts:


Now that you have an understanding of damage location codes:
